How Can We Help?
Printers
Printers
Cuismo™ offers various options for printing receipts and labels to meet your needs. Receipts are printed in their entirety and can be stapled to the delivered order packaging or kept for future reference. Labels are printed to identify specific dishes. There are two types of printers that you can use to print receipts, a standard printer, or a dedicated receipt printer.
To use a standard printer, you can connect any local printer to your computer and manually print receipts for orders that have been completed. If you prefer to use a receipt printer, Cuismo™ recommends using the Epson POS Receipt Printer, which can automatically print a receipt once an order has been received.
To print labels, you can use the Dymo label printer, specifically the Dymo LabelWriter 450 for optimal support. Both receipts and labels contain a QR code that redirects to a page where customers can view their order details, nutritional information, and sign up for your website’s rewards program.
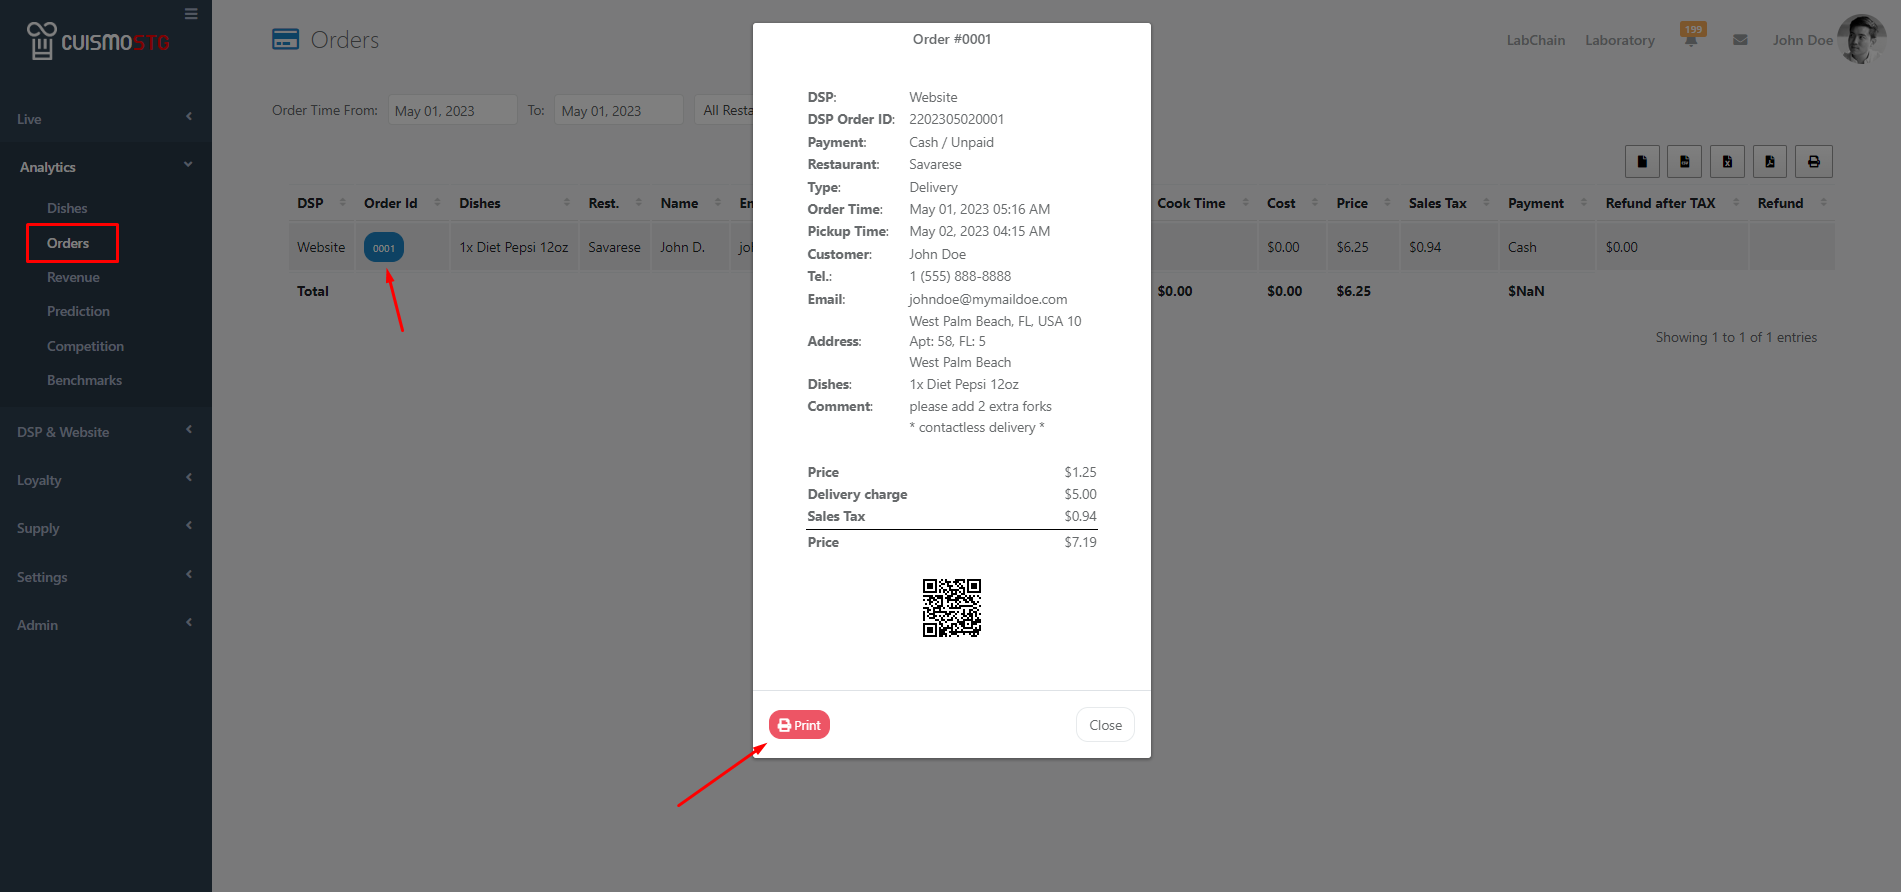
If you wish to print a receipt manually, you can do so by clicking on the “+” sign on the top right corner of a ticket on the Tickets View screen, which will display the receipt. Then click the red “Print” icon on the bottom left using any connected printer.

If you want to print an older order, go to Orders Analytics to view your order history, and by clicking on the Order ID, you can open the receipt for the selected order.
If you prefer automatic printing, Cuismo™ can assist you in integrating your Epson POS Receipt Printer to automatically print receipts for incoming orders.
Similarly, if you have a label printer, Cuismo™ can help you integrate it to automatically print labels with QR codes for any dish in your incoming orders. Contact us for integration assistance.
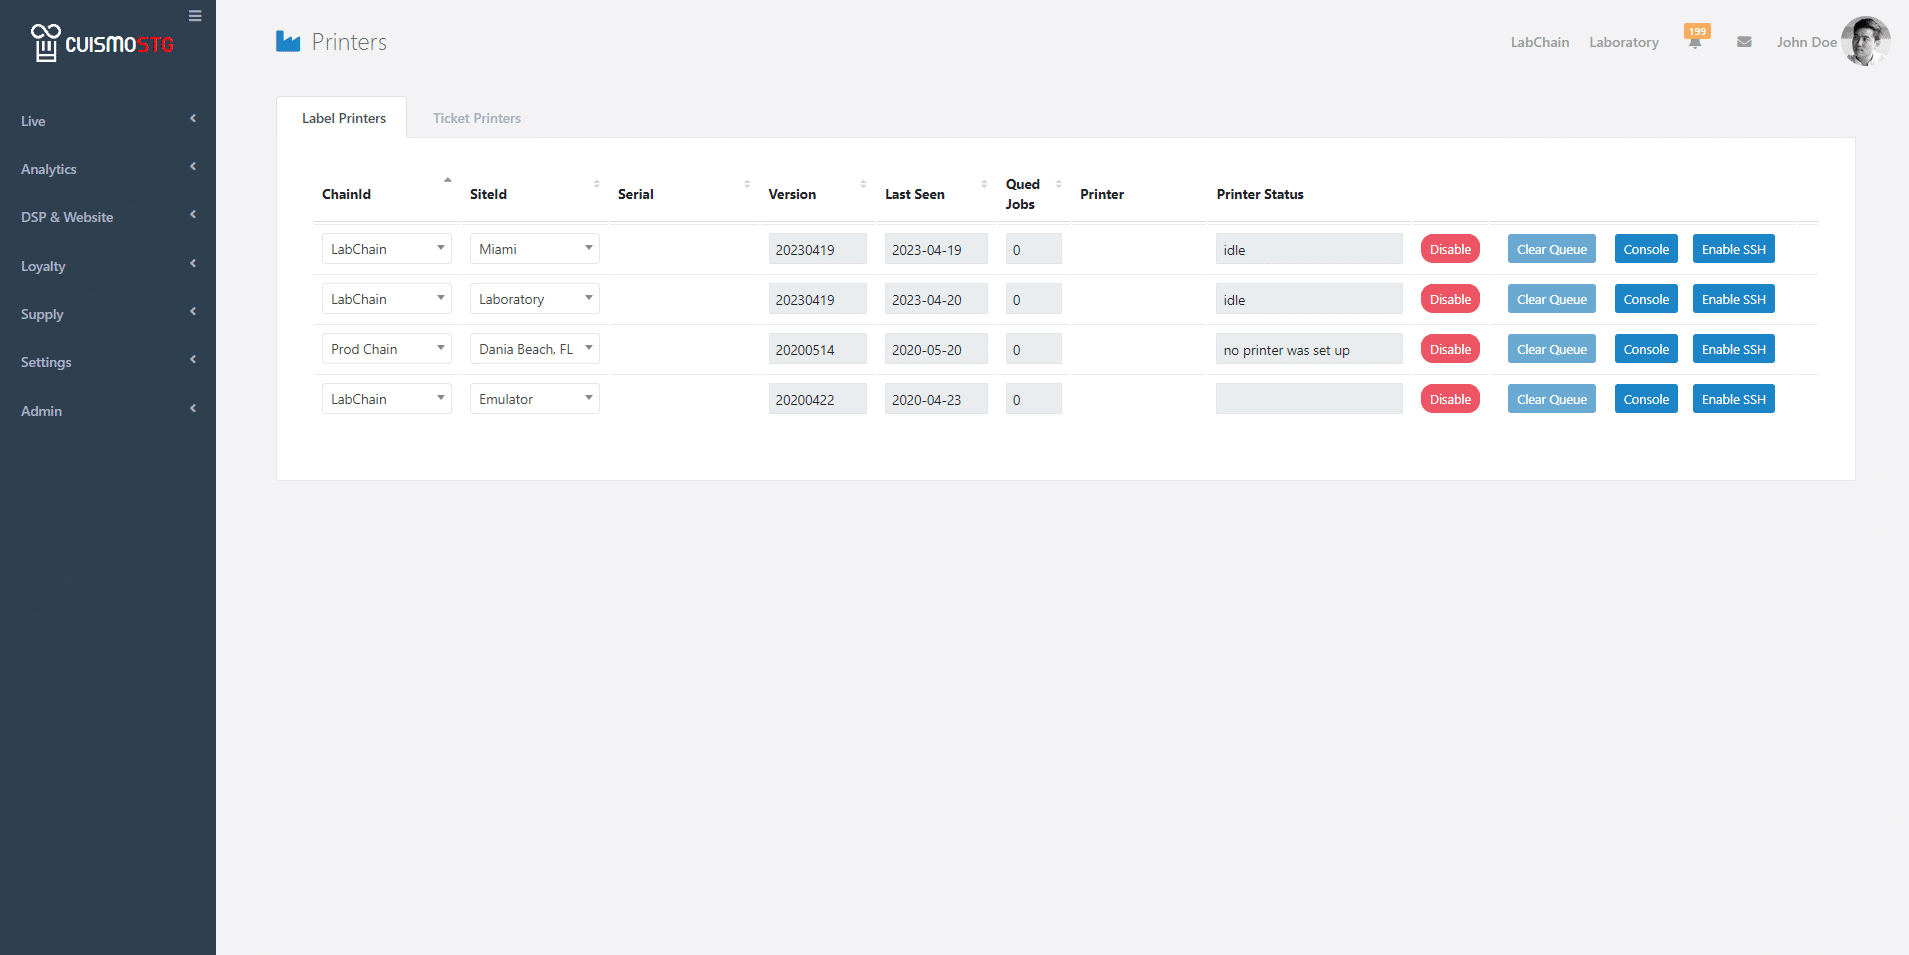
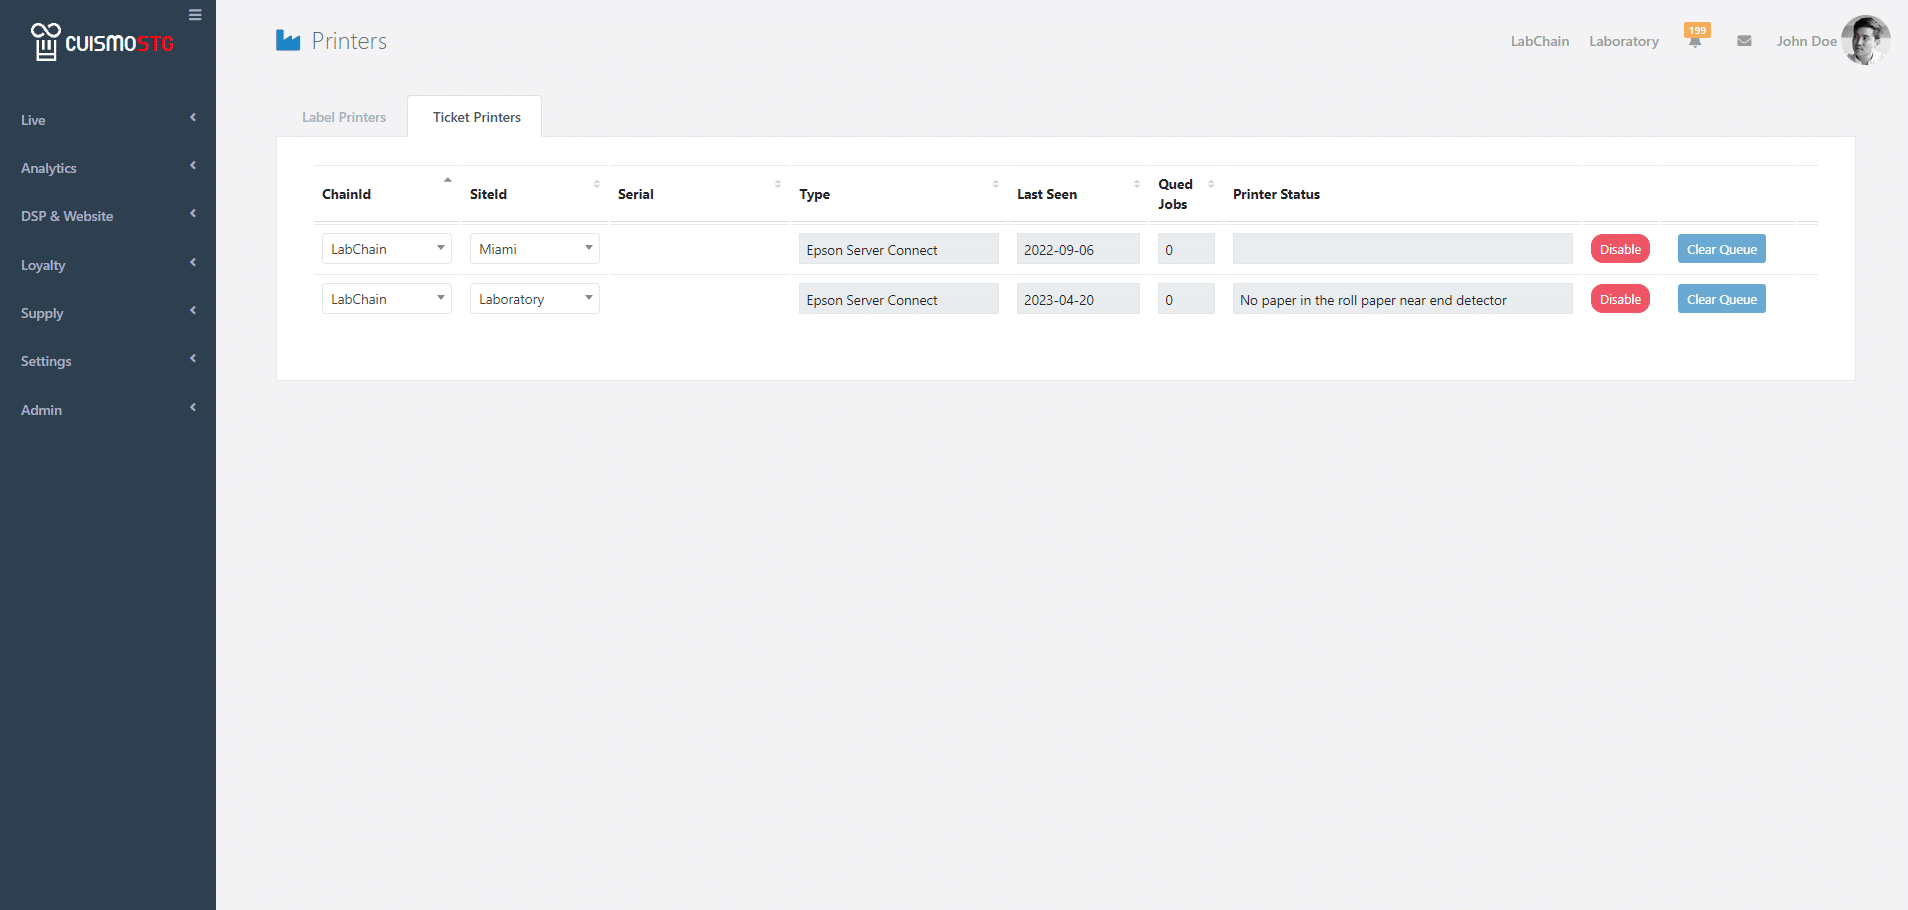
On the Settings -> Printers page, you can easily disable or enable a printer by locating the appropriate printer and clicking the corresponding button next to it. To disable the printer, click the “Disable” button, and to enable it again, click “Enable” button. Please note that admin access rights are required to perform this action.
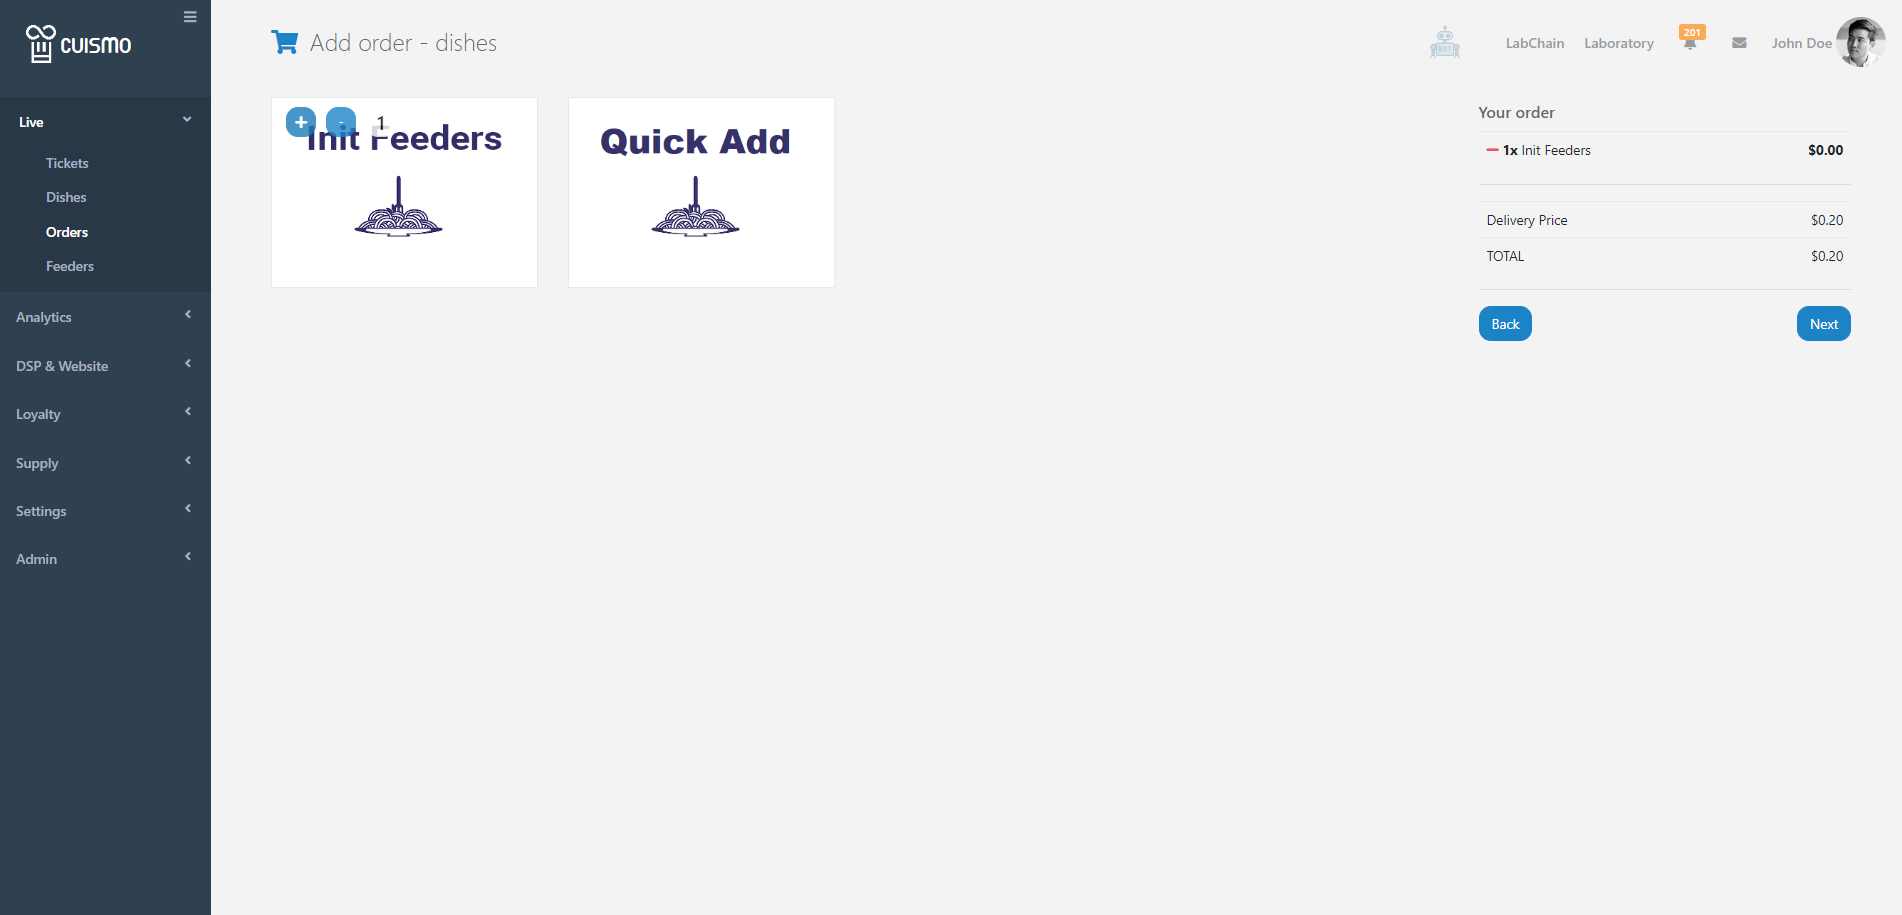
In addition, “Feeders Init” feature allows you initialize the feeders and then print labels. Simply open Live -> Tickets page and click “Add Order” button. Then click “Next” and select “Init Feeders” from the menu. This will initialize the feeders and send the label data to the printer.